If you have a car that needs to be kept on an incline while working on it, you can create your DIY traction mats to provide the grip you need. All you need are two pieces of plywood, some screws, and anti-slip material like sandpaper or old carpet. Just screw the pieces of wood together and cut the anti-slip material to fit between them.
What Are DIY Traction Mats?
They’re a terrific way to avoid slippage in your car—and they’re easy to make, too. Made from small pieces of carpet, they can be sewn together and placed under your car tires.
Traction mats provide slip-resistant surfaces that can help you avoid collisions and accidents while driving.
Driving in icy conditions can be a treacherous experience. If you’re unlucky enough to get stuck in your car, it’s a long walk back to safety and warmth.
This is where DIY traction mats come into play. They will enable you to make the DIY traction that will help keep you safe when driving on ice and snow.
With these mats, you won’t have to worry about getting stuck or sliding off of roads during winter weather. In addition, they are easy to make and cost very little money.
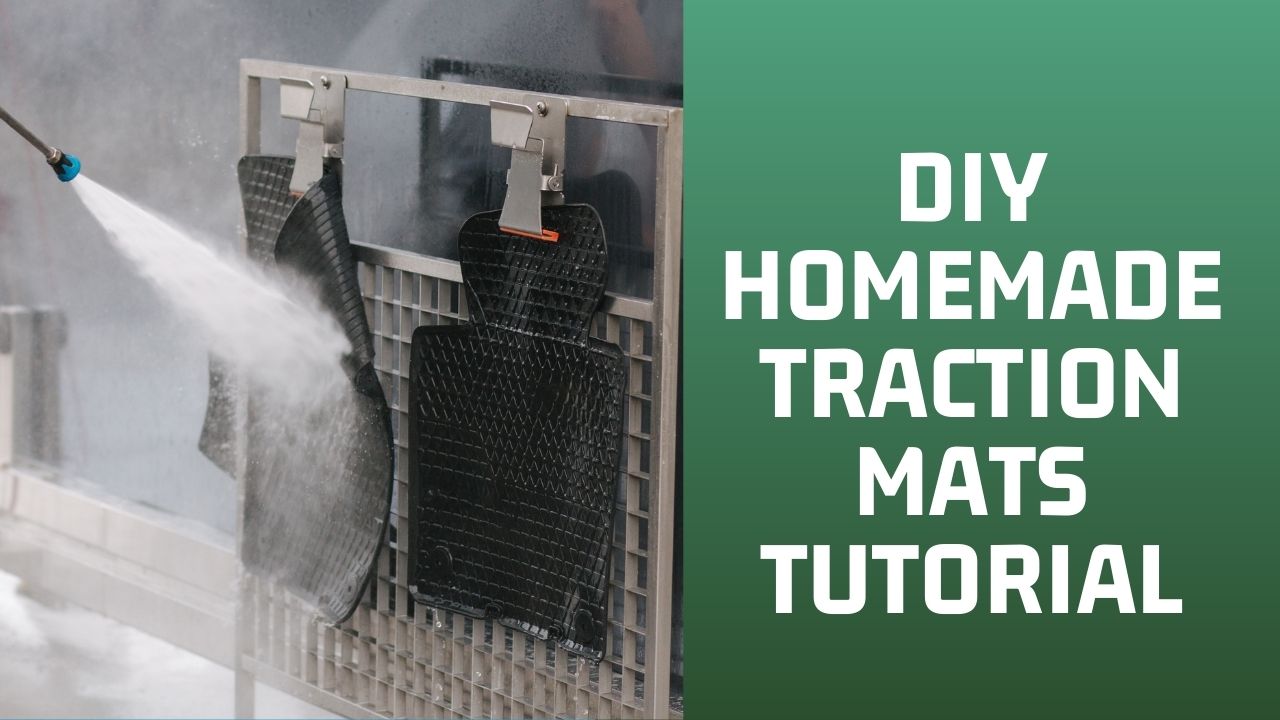
DIY Homemade Traction Mats
Below is a simple guide for making them.
How to Make DIY Carpet Traction Mats:
- cut a piece of thin carpeting into squares or rectangles with dimensions equal to or slightly larger than your tire size (e.g., 18 x 20 inches).
- Use fabric glue or sewing machine thread to stitch several squares together until you have one large rectangle that will fit underneath your car tire.
- Place two layers of traction mat under each tire.
- If desired, sew four strips of Velcro around each mat so it stays securely in place on your floorboard when not in use.
- Enjoy increased safety and peace of mind on your next drive!
Tools
- Tape measure
- ruler or tape measure
- Marker
- Calculator, protractor, compass, or non-level surface for marking curved lines tools
- (If you want to drill holes) a handheld power drill with a small bit, or an electric screwdriver.
- For drilling into metal surfaces, use a hole saw instead of a drill bit. materials: 1-inch thick clos1-inch foam mat, available at most hardware stores in 2-foot by 4-foot sheets for4-foot $15–20.
- You can also buy smaller sheets and cut them down to size later. A cheaper alternative is buying two separate pieces of 1/2 inch thick foam and gluing them together yourself using spray adhesive.
- Scissors, utility knife, or razor blade
- Optional: duct tape, hot glue gun, or heavy-duty glue heavy-duty If you don’t have any of these things on hand, they’re all cheap enough that it’s worth picking some up just for your traction mats.
However, note that if you use hot glue or epoxy, your car will smell like burning plastic for days after installation.
Consider hanging outside to install those kinds of adhesives.
Supplies
Carpet scraps, a piece of wood to cut into several pieces, double-sided carpet tape.
All of these are easy to find at any hardware store.
And they’re all quiet they were If you want, you can also buy traction mats from an auto store like AutoZone or O’Reilly’s Auto Parts; just know that these are significantly more expensive and aren’t as good as homemade ones for an inch race car.
However, if you have access to one of these stores it might be worth buying some because then you don’t have to do any work!
That said, I recommend making your own for your first car so that you understand how it works.
Procedure
- Roughly cut two pieces of rubber flooring (found at home improvement stores) that are each 4 feet long and 4 inches wide.
- Combine equal parts of all-purpose cement t and fine sand in a bucket.
- Mix well to create a thick, yet pourable consistency that can be spread evenly onto your new traction mats.
- Pour onto one half of each one-half and use a brush to spread evenly over its surface.
- Allow drying for 2 hours. If desired, add a second coat to ensure total coverage and maximum traction.
Once dry, placemats on your garage floor in front of your car’s wheels. When driving forward onto them, make sure that you maintain control of your vehicle, as you do not want to skid off or drive over them with too much speed.
When turning your steering wheel left or right while stationary on these homemade traction mats, you should feel a noticeable increase in grip from your tires as they dig into the mat’s surface.
ALSO SEE: Homemade Traction Mats

2 Ways to Create a Traction Mat
Have you ever been stuck in your car during snow or rain because you couldn’t get traction?
Traction mats are a cheap and easy way to fix, as they can be made in less than an hour with items found around your home.
Here are two ways you can create your traction mat.
-
Heavy-duty cardboard:
This method is best for those who don’t have much time to spend on their project.
- Simply find some heavy-duty cardboard (shipping boxes work well) and cover it with contact paper.
- This will give you something slick to stand on when trying to get out of your car or truck.
Just remember, these aren’t permanent so don’t drive over them!
-
Make a more durable mat using carpet remnants:
If you want something sturdier, then consider making your traction mat from carpet remnants.
- Start by cutting down pieces of carpeting to fit across your garage floor.
- Then, lay down heavy-duty duct heavy-duty each edge of each piece of carpeting.
Be sure to overlap each piece by at least 2 inches so no one gets hurt when walking on it!
- After taping down all four sides, just roll up your new traction mats and store them in your garage until needed.
- To use your new traction mats, simply unroll them and lay them flat on your garage floor.
- Place your car (or truck) tires on top of them and slowly drive forward. Your vehicle should have no trouble getting traction!
If you’re using cardboard, don’t forget to pick up some contact paper before storing it for next time!
Conclusion
How to make a traction mat or DIY homemade traction mats.
Here is a list of materials you will need to complete your project
- Foam padding, 3/4 inch thick, and at least 12 inches wide (available at home improvement stores)
- Carpet tape (available at home improvement stores)
- Scissors, Staple gun, and staples ( available at office supply stores)
- Tape measure (optional)
Step 1: Cut foam padding into the desired shape.
If you are making a traction mat for an SUV, it should be about 14 inches wide by 26 inches long.
The height of your traction mat will depend on how much clearance you want between the ground and the bottom of your vehicle’s tires.
For most SUVs, a 4-inch tall mat works well.
Once you have cut out your foam padding, use carpet tape to secure one end together so that it forms a circle with no gaps in between pieces.
Step 2: Staple carpet tape onto the backside of each piece so that they don’t slip around when driving over them.
Step 3: Start by cutting down pieces of carpeting to fit across your garage floor.
Then, lay down heavy-duty duct heavy-duty each edge of each piece of carpeting.
Be sure to overlap each piece by at least 2 inches so no one gets hurt when walking on it!
After taping down all four sides, just roll up your new traction mats and store them in your garage until needed.


![Who Makes Interstate Batteries? [ANSWERED]](https://shockabsorberpro.com/wp-content/uploads/2023/08/Who-Makes-Interstate-Batteries-768x432.jpg)